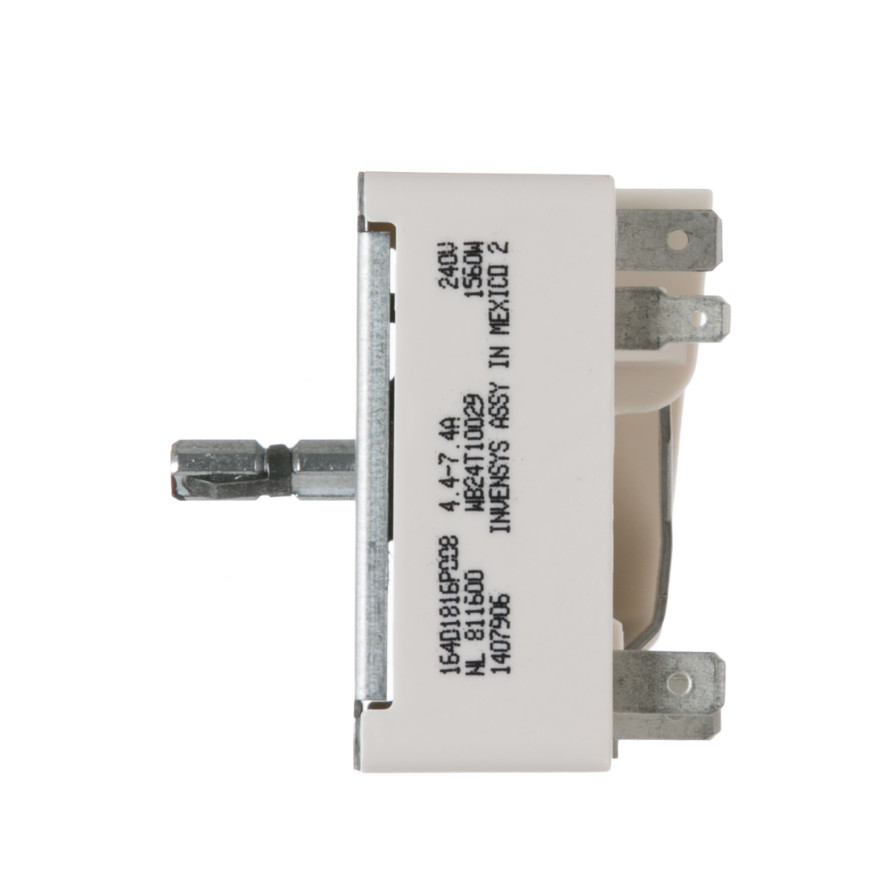
GE WB24T10029 | Range Surface Burner Control Switch | Genuine OEM Part
- Shipping $15.00 · arrives Thu, Nov 5 – Wed, Nov 11Ships from the United States in 1–2 business days, then 3–6 business days in transit, with tracking.
- 30-day returns · details
- Secure checkout with PayPal or any debit/credit card. If an item can't be shipped, you get your money back for it automatically.
Product details
GE WB24T10029 | Range Surface Burner Control Switch | Genuine OEM Part.
GE WB24T10029 Range Surface Burner Control Switch
Genuine OEM Infinite Burner Control Switch Module
📝 Product Overview
The GE WB24T10029 is a genuine OEM infinite burner control switch for electric ranges. Mounted directly behind the front control panel or rear backguard console, this electro-mechanical rotary switch controls the power supply sent to the radiant glass-top heating elements or traditional plug-in coil burners on your cooktop.
As an Authentic General Electric Factory Component , this infinite switch features an internal bimetal heater tracking system rather than a simple on/off contact. When you rotate the burner knob, you mechanically set the internal spacing of the contact points. The switch cycles the power to the cooking element on and off in precise, timed intervals to maintain your selected temperature setting (Low, Medium, or High). Utilizing a genuine WB24T10029 switch ensures proper internal resistance matching, eliminates voltage arching across wire terminal blocks, and restores steady, linear temperature adjustment to your range.
🔍 Signs the Burner Control Switch Needs Replacement
- Burner Stuck on High Heat Only: The element turns on but immediately rushes to maximum glowing heat regardless of whether the dial is set to Low or Medium, indicating the internal contacts have permanently welded themselves shut.
- Element Fails to Heat Up: The burner remains completely cold when activated, but the element itself tests fine for continuity, indicating the internal switch terminals have burned open.
- "Hot Cooktop" Indicator Light Stays On: The safety warning light on your glass main panel stays illuminated permanently even when the elements are completely cold, caused by a shorted auxiliary terminal block inside the switch.
- Physical Damage or Scorched Smell: Turning the cooktop knob produces an audible electrical pop, a burning plastic odor, or loose tracking resistance within the dial stem itself.
🔧 Technical Specifications
- Part Number: WB24T10029 (Replaces or interchanges with 1082343, AH954203, EA954203, PS954203)
- Part Type: Infinite Surface Burner Control Switch Module
- Condition: Brand New, Genuine GE OEM Part
- Build: High-impact ceramic and composite backing block outfitting a metal rotary shaft and multiple labeled push-on terminal spade prongs.
- Compatibility: Engineered specifically for select General Electric, Hotpoint, Kenmore, and RCA electric ranges.
📦 Professional Installation Tips
Safety Note: Completely turn off your kitchen's dedicated 240V heavy-amperage circuit breaker panel or pull the large range power plug from the wall socket before starting. Surface burner circuits handle lethal voltage limits; never service this switch while the range is plugged into live power. Pro Tip: Infinite switches have standardized alpha-numeric codes stamped onto the casing right next to each wire terminal blade (typically L1, L2, H1, H2, and P). L1/L2 represent incoming power lines, H1/H2 go outward to the burner element, and P runs to your console indicator light. Installation Hack: Pull off the exterior plastic burner knob and unbolt the rear sheet-metal guard cover to expose the switches. Do not disconnect all the loose wires simultaneously. Instead, position your new WB24T10029 switch right next to the failed one, and use a needle-nose plier to pull each wire off the old terminal and slide it onto the matching stamped letter/number terminal on the new block **one wire at a time**. This guarantees you don't scramble the high-voltage schematic layout. Caution: Examine the slip-on female wire terminal connectors. If a wire clip slid off the old switch easily or looks discolored from old heat stress, it has lost its spring tension. Use a plier to gently squeeze the barrel of the female wire clip before pushing it onto the new switch blades. A loose wire connection creates high resistance, which will overheat the port and instantly burn out your new control switch module.
**
Specifications
- Type: Burner Switch
Condition: New